Thursday, March 22, 2012

RC Car Wheels

You may recall my post about the Ferrari F50 wheel model I made in 2004. Well, it seems the time has come to make the darn thing!

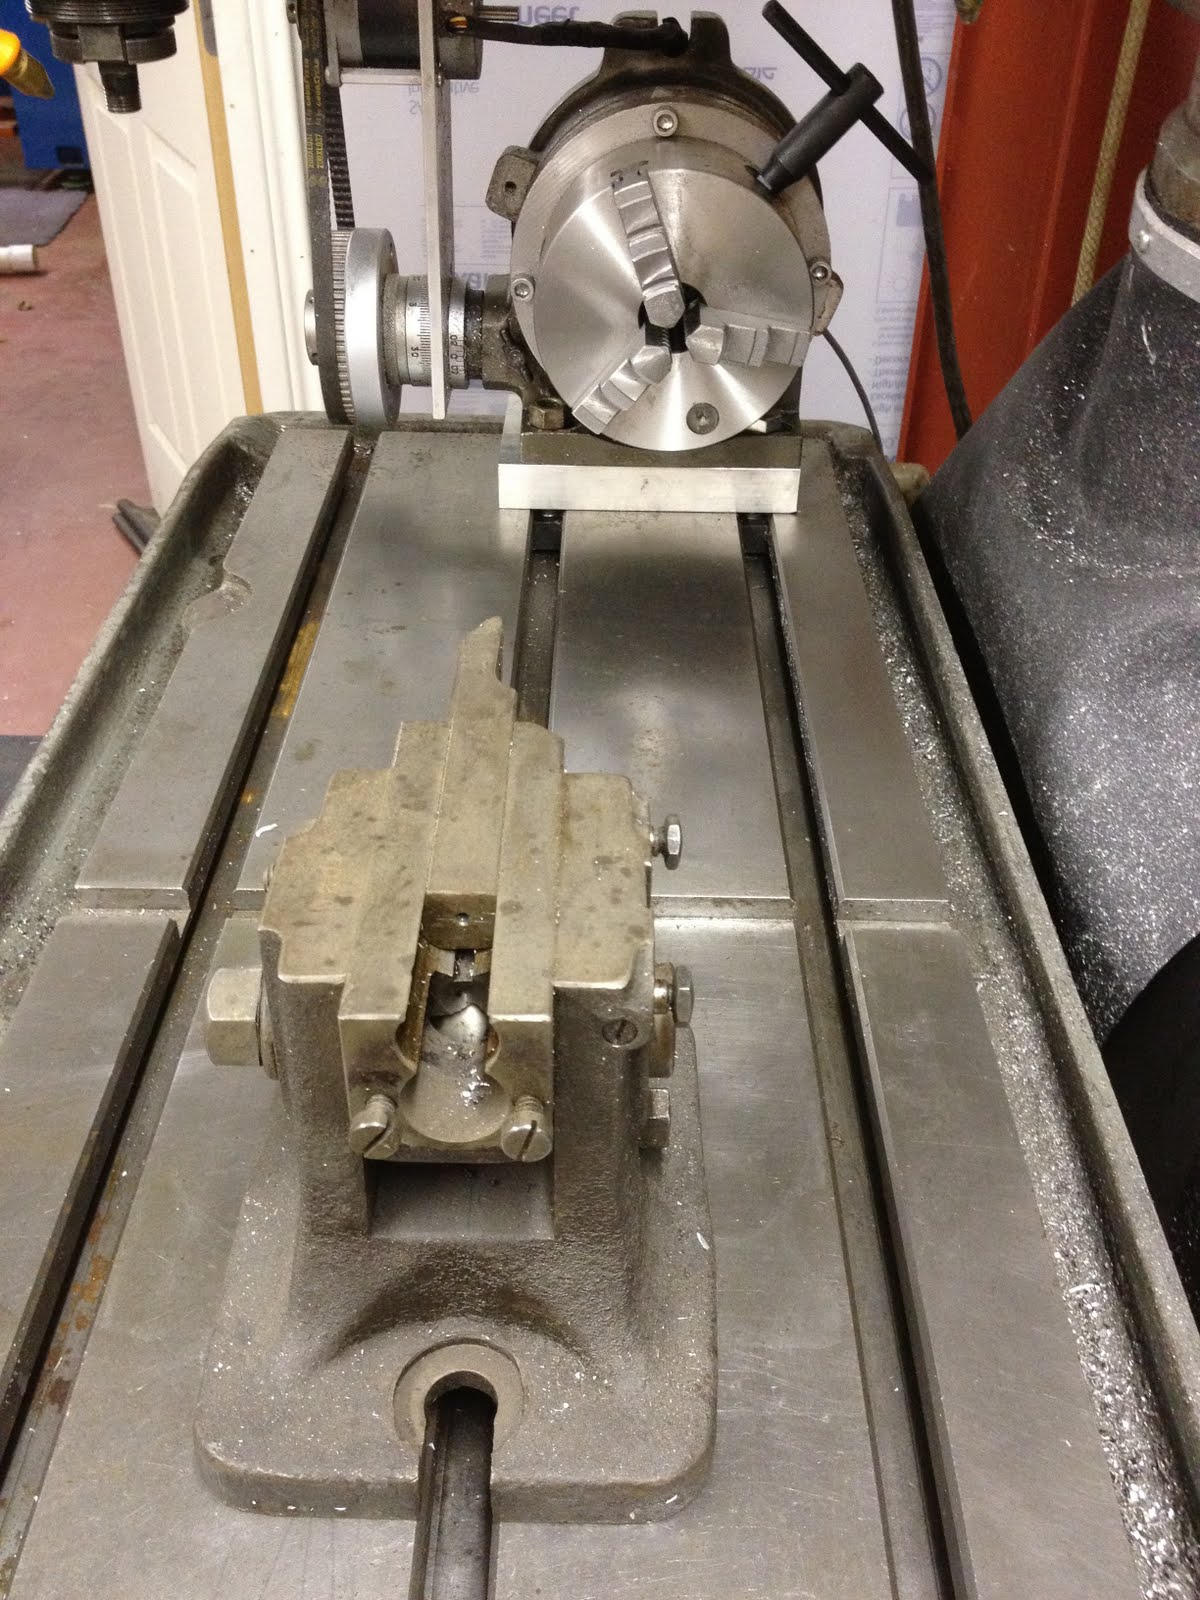
Vertical axis mount of the 3 jaw chuck for concentric work holding.


Indicating center 


Magic unfolds!


Sadly, I have been unable to finish the wheel. Without a highspeed lathe style cutting operation on the rim tub, I cannot give it a "turned" finish look. Second, it takes hours for the mill to do what would take a lathe seconds to finish. There's a way, but for now i'm moving on to newer ventures.


More to come!


P.S. I tried making a video of the endless wheel machining footage, but alas it was awfully boring to watch. Maybe next time!

Thursday, February 23, 2012

Driveshaft spacer

Adding a lift kit and big tires on your truck can wreak havoc on certain drivetrain components. The one under consideration today is the loss of driveshaft engagement from the axle being in greater droop from it's original position. The easiest solution for me was fabricate a metal spacer that pushed the two co-linear driveshaft pieces back together. 


A small ring of material was left on one side in order to keep the spacer concentric and well balanced, and a similar ring removed from the other side. It fit very nicely. 


There are more updates found on our Facebook page please visit and like!

Saturday, January 7, 2012

Poor man's spline

The engineers here at Alamo CNC needed an inexpensive and detachable way to connect a steering shaft to our custom steering rack (seen previously). So, in lieu of buying a $75 manufactured spline assembly, we came up with an $8 homemade alternative! The hard part about making a custom spline is the female connection; a special tool called a broach is needed to cut away the inside of a shaft. In our case, we just bought a standard 12 point socket for $6 

Enjoy!


Friday, December 30, 2011

Coaxial misalignment

I'm setting up the tailstock for some upcoming 4-axis projects and unfortunately it's taller than the rotary table. So I needed to make a spacer to raise it up as seen here. 

Sadly, I lack enough foresight to have noticed the tailstock is center mounted on the table and the rotary is offset. So it's time for a more involved spacer design!


This time I will use the CNC to cut all the needed slots/holes instead of the old manual mill.


 Perfect!


Thursday, December 15, 2011

Rack and Pinion

500 lb formula car manual steering rack

It's only wednesday. 

These raw materials arrived sunday night. 

This product is extremely easy to assemble/disassemble and the CNC process is lightning fast! 

The rack length is customized for each car. Rack and pinion with easy lash adjustment. But the main perk with this rack is LIGHT WEIGHT. In its current state is weighs just 2.6 lbs! The pegasus rack weighs a whopping 5 lbs, and is the only viable competitor. Here it is in finished form


Many thanks for the design created by Mike Daniel at Falcon Taps modeled after the Pegasus racing rack.
Alot more to come on this project : - )


Friday, November 4, 2011

John Deere 45mm Joint Pin Extractor

My first project cutting steel!  The tool I'm making allows us to easily pull out the 45mm joint pins on our JD 450J bulldozer. Over time the pins will no longer accept fresh grease and need to be removed for cleaning and/or replacement. 

First step is to drill and tap the three holes.


This project marks the first time I assigned a "tool offset" for each tool, which greatly improved the speed and accuracy of tool setup and tool changes. 


The material roughing was done with a 5/8" course tooth bit, which works amazingly well!


A finish pass of 0.010" with a 1/2" end mill


Finally a 45 deg. chamfer


Logo engraving done on the CNC router.


Production is going very well!


The final test passes with flying colors! 


Thursday, October 20, 2011

Video Session - CNC Crashes

Every CNC machine operator crashes his tools to some degree. Period. It's a trial and error process until you truly become competent in your own toolpath engineering. Here is a compilation of quick videos that express every toolpath engineers worst nightmares. Some of these I have done myself, so it's a fun reminder to learn from your's and other's mistakes!

Be sure to skip ahead in the video to the time posted.

P.S. You can find more fun CNC videos on my Facebook and twitter page


ENJOY!

Thursday, October 13, 2011

Fun art on the 4 axis

Successfully took a multi-faceted obelisk from design to a finished part using live tool plane 4-axis machining. One part took about 3 hrs to complete. Roughing was done using only the top and bottom tool planes, 3 operations per side using a 0.5" end mill.


The finish pass was done using an "axial cut" live 4 axis toolpath, which is when the rotary table moves 1.5 degrees after the cutting tool has traveled the entire length of the part. See video for example. a 1/8" ball nose cutter was used with mineral spirit being added for a smoother cut finish.


 5 operations were needed to separate the ball end of the part from the raw material


I'm not really sure what it does, but it looks cool!

I also completed a small sheetmetal project. This is a custom funnel for a 55 gallon drum.


Thanks for reading!